Updating a Ticket in HubSpot:
-
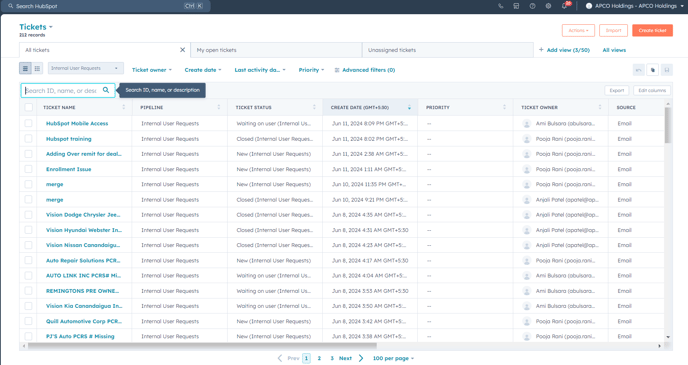
Navigate to the Tickets Dashboard: Navigate to CRM>Tickets from the left navigation panel, to view all the tickets.
-
Find the Ticket to Update: Locate the ticket that you want to update. You can use the search bar or filter options to find specific tickets.
-
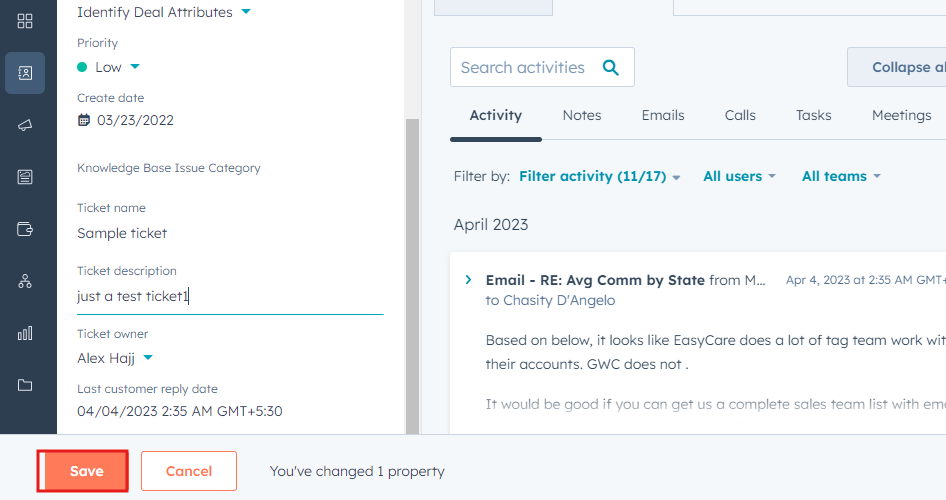
Edit the Ticket: Open the ticket by clicking on it, and then locate the pencil icon
 to make edits. Update the description, status, priority, or any other relevant details as needed.
-
Save the Changes: Once you have made the necessary updates, remember to save your changes to ensure they are applied successfully. Look for the designated button or option labeled as "Save" or "Update" at the bottom of the window to ensure your changes are successfully applied.
Deleting a Ticket in HubSpot:
Please exercise caution when deleting tickets, as this action may result in data loss, and it's typically recommended to archive tickets rather than delete them. In case if you feel like deleting a ticket, then follow the below instructions:
-
Go to the Tickets Dashboard: Navigate to the "Tickets" section as mentioned earlier.
-
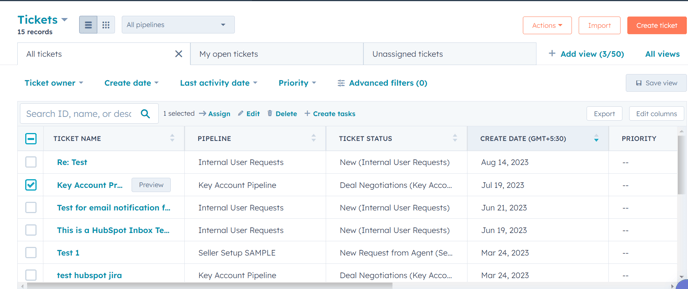
Find the Ticket to Delete: Locate the ticket you want to delete using search or filters and check the box
-
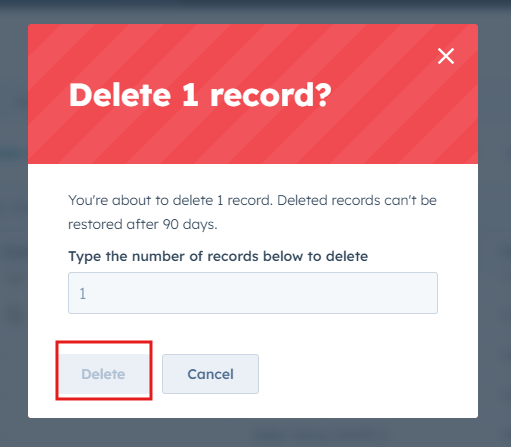
Delete the Ticket: Select the checkbox next to the ticket, which will then reveal the delete option located beside the search box. Click on the delete option to proceed with deleting the ticket.
-
Confirm Deletion: HubSpot will usually ask you to confirm the deletion. Confirm the action, and the ticket will be deleted.
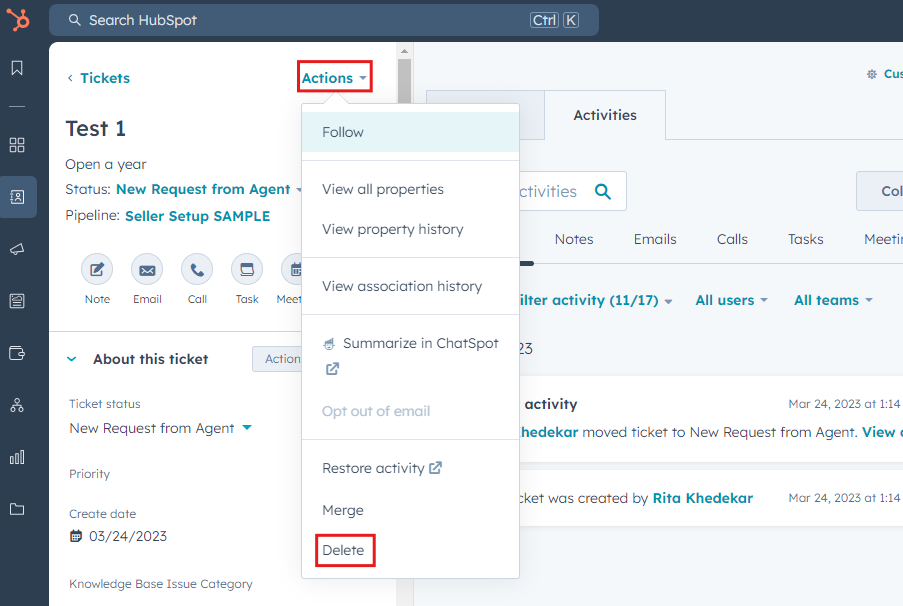
- Alternatively, open the ticket you want to delete, click on Actions>Delete and confirm the action to delete the ticket.